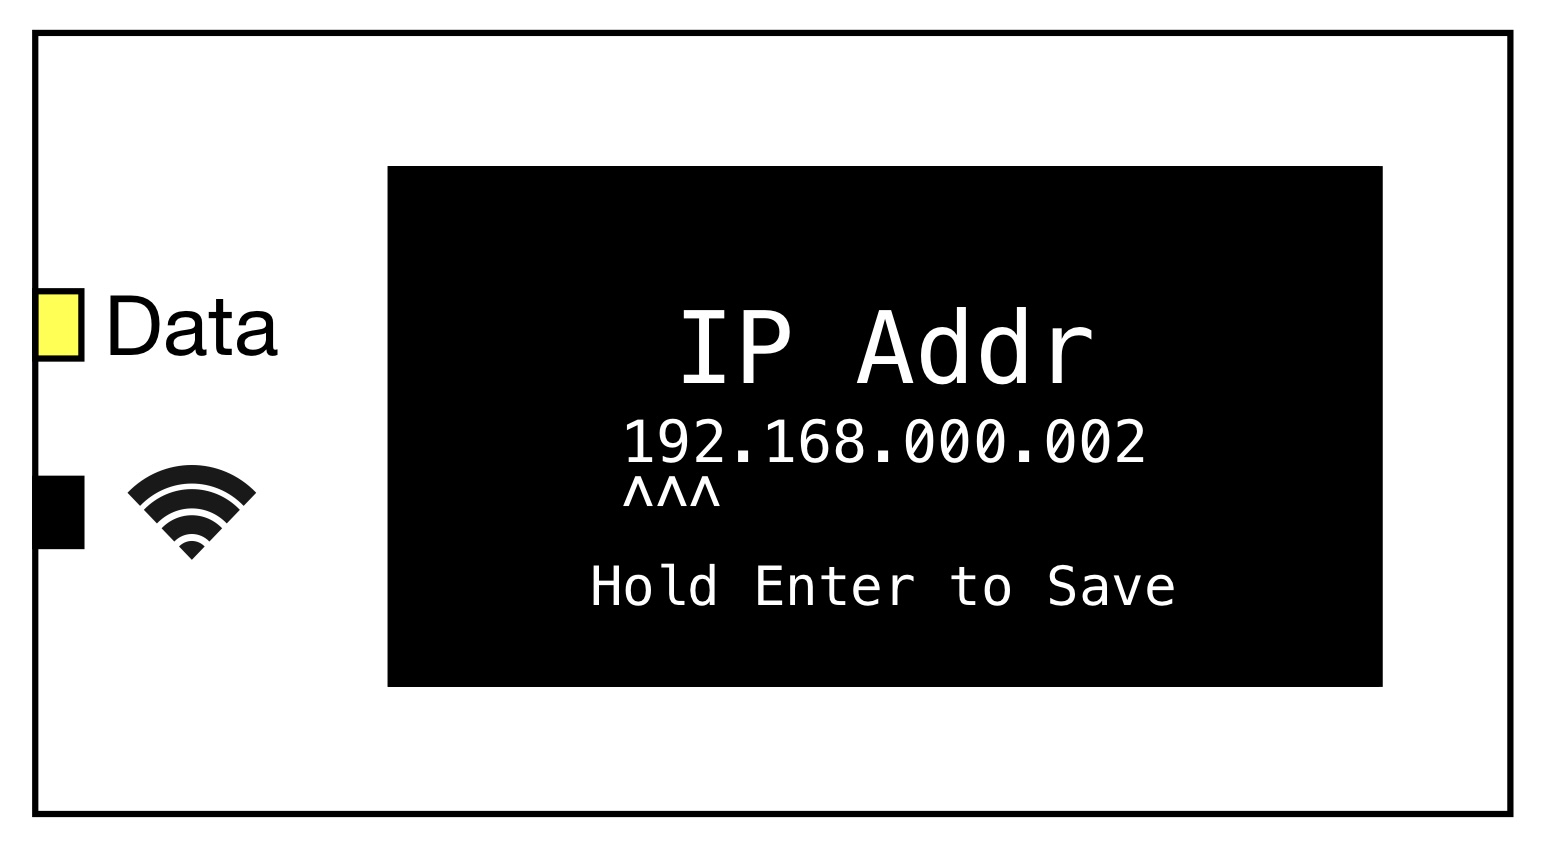
Network Settings: IP Presets
IP Presets can help speed up address entry for your RR and R2 lights.
When sending unicast to your fixtures change the [IP Add Mode] from DHCP to Static. When setting static IP's each fixture must use a unique IP address on the network to avoid IP address conflicts.
Network Presets make configuring multiple fixtures easier and faster so you do not have to enter all the IP octets by hand.
[Config Menu]→[Ethernet Settings]→[IP Add Mode] → Select "Static" and press ENTER.
Tap the
and you will see [Set IP Addr], press ENTER. Use the arrow keys to select your desired entry method, [Edit IP Addr] or [IP Presets]:
Edit IP Addr→ Pressing ✓ will place the cursor on the first octet of the IP address. Use the
to Increase and decrease the address. Press the ✓ to cycle to the next octet. Press and hold the ✓ to store the IP address.

IP Presets→ Choose from the most common IP address schemes

The available IP Preset options are:
Preset 1: 192.168.0.x
Preset 2: 192.168.4.x
Preset 3: 2.0.0.x
Preset 4: 10.0.0.x
Preset 5: 10.10.0.x
Preset 6: 10.101.0.x
Preset 7: 172.31.0.x
Pressing enter will place the cursor on the fourth octet of the IP address Preset. Use the
to Increase and decrease the address. Press the ✓ to cycle to the next octet. Press and hold the ✓ to store the IP address.
Set Subnet Mask→
Edit SN Mask→Pressing ✓ will place the cursor on the first octet of the Subnet Mask. Use the
IIncrease and decrease the address. Press the ✓ to cycle to the next octet. Press and hold the ✓ to store the Subnet Mask.
SN Presets→ Work the same way as IP Presets. Choose from the most common Subnet Mask schemes. Pressing enter will place the cursor on the fourth octet of the Subnet Mask. Use the
to increase and decrease the address. Press the ✓ to cycle to the next octet. Press and hold the ✓ to store the Subnet Mask.
Set Gateway→
Edit Gateway→ Pressing ✓ will place the cursor on the first octet of the Gateway address. Use the
Increase and decrease the address. Press the ✓ to cycle to the next octet. Press and hold the ✓ to store the Gateway.
GW Presets→ Choose from the most common Gateway schemes. Pressing enter will place the cursor on the fourth octet of the Gateway address. Use the
to increase and decrease the address. Press the ✓ to cycle to the next octet. Press and hold the ✓ to store the Gateway address.
Note
When [IP Add Mode] is set to Auto(DHCP), the DHCP server on the network will handle all of the IP Address assignments to the fixtures. This is the default setting.