Wi-Fi Client to DMX Routing
Receive WiFi input and pass that signal to the DMX output
While acting as a Wi-Fi Client this Advanced Routing can pass ArtNet-over-WiFi to the fixture's DMX output versus Basic Routing where the DMX out is not active. Thus WiFi→DMX extends the capabilities of WiFi to support a daisy chain of other DMX devices from the client RR-R2.
Please note that WiFi Routings are 1-universe routings, making use of just the [Input Universe] under [Ethernet Settings] which gets passed to the DMX output.
Art-Net can be Broadcast or Unicast over WiFi as desired. sACN is not yet available over WiFi.
Connecting to WiFi
The process to connect Advanced Routing is more or less the same as Basic Routing, with the only UI change being the Status LEDs take on an Input/Output scheme of Data LED = Magenta (WiFi In) / Wireless LED = Red (DMX Out), let's take a look.
 |
First, navigate to [Config Menu] → [Advanced Routing] → [WiFi>DMX] and press ENTER.
Then RIGHT Arrow over to [WiFi Settings] and press ENTER
If you are not already connected to a network you will see a WiFi Status screen indicating your are Disconnected. When there is no data or connection you will see a Slow Pulse indicating the mode is ON but there is no data/connection yet established.
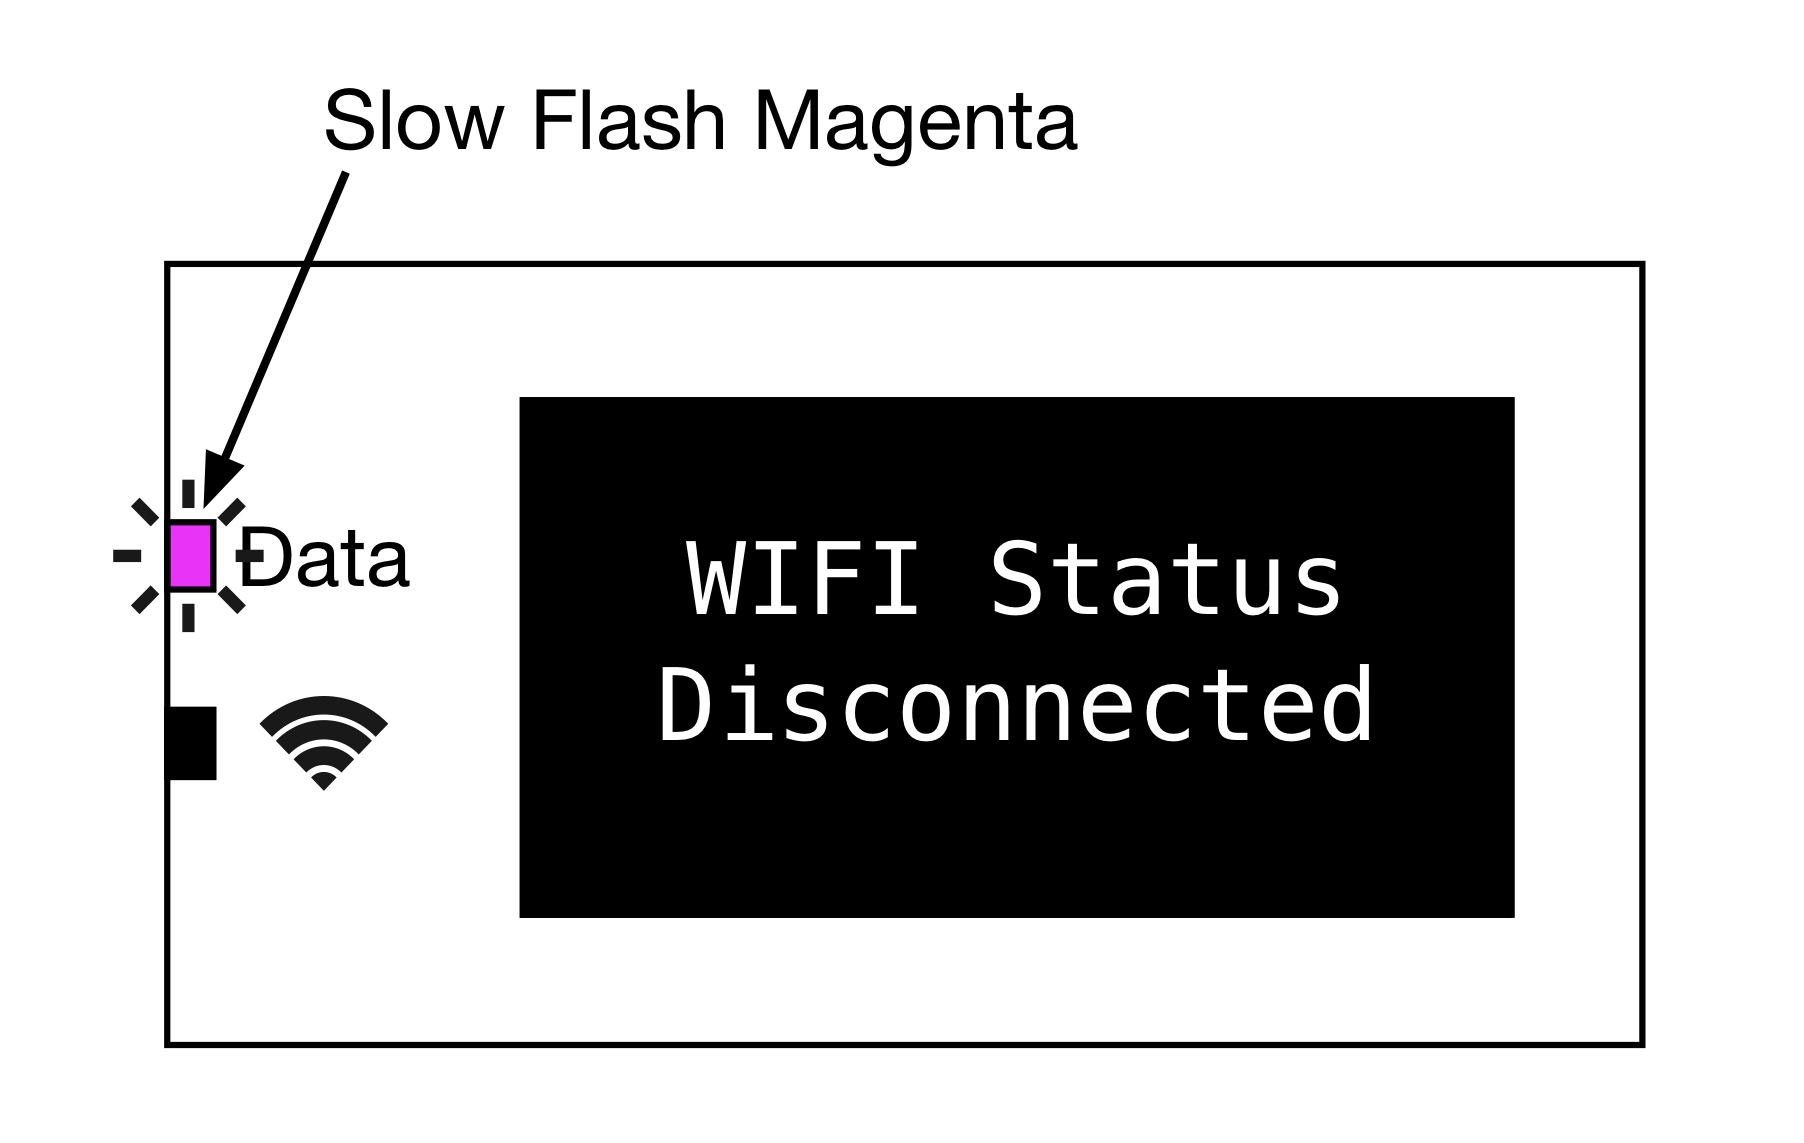 |
RIGHT Arrow to the [Set Network] menu and press ENTER. Both Status LEDs will quickly flash Light Blue while a scan of available SSID's is performed. When the scan is complete use the LEFT or RIGHT arrows to select the desired SSID and press ENTER.
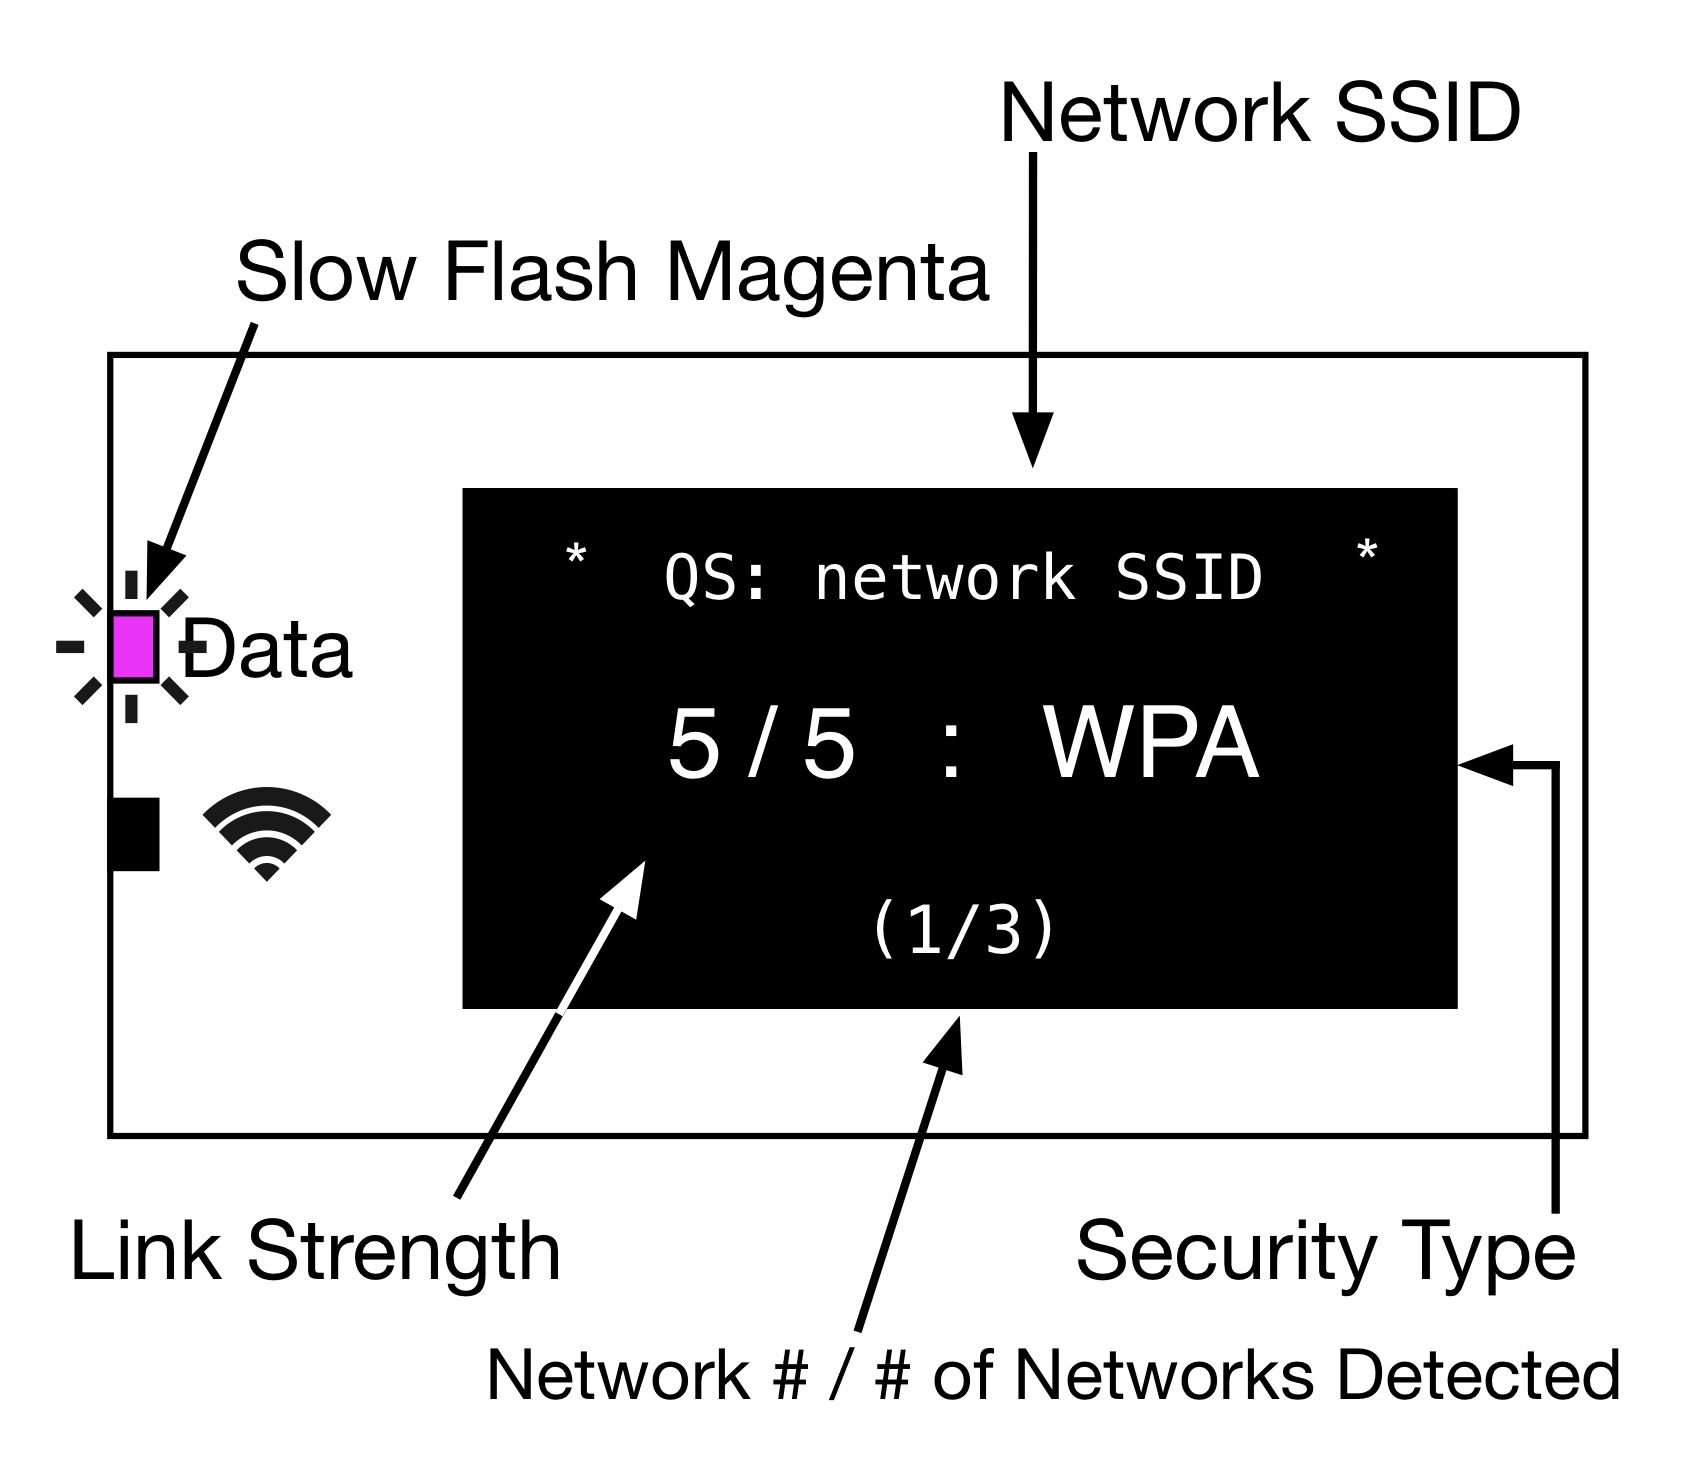 |
Press ENTER to select the network. You are then asked for the WiFi Password. How to enter a password is covered in the Basic Routing article. Once you've entered the password's final character PRESS & HOLD [ENTER] to Save. If the password is incorrect there will be a Red Error flash on the Status LEDs and then try again.
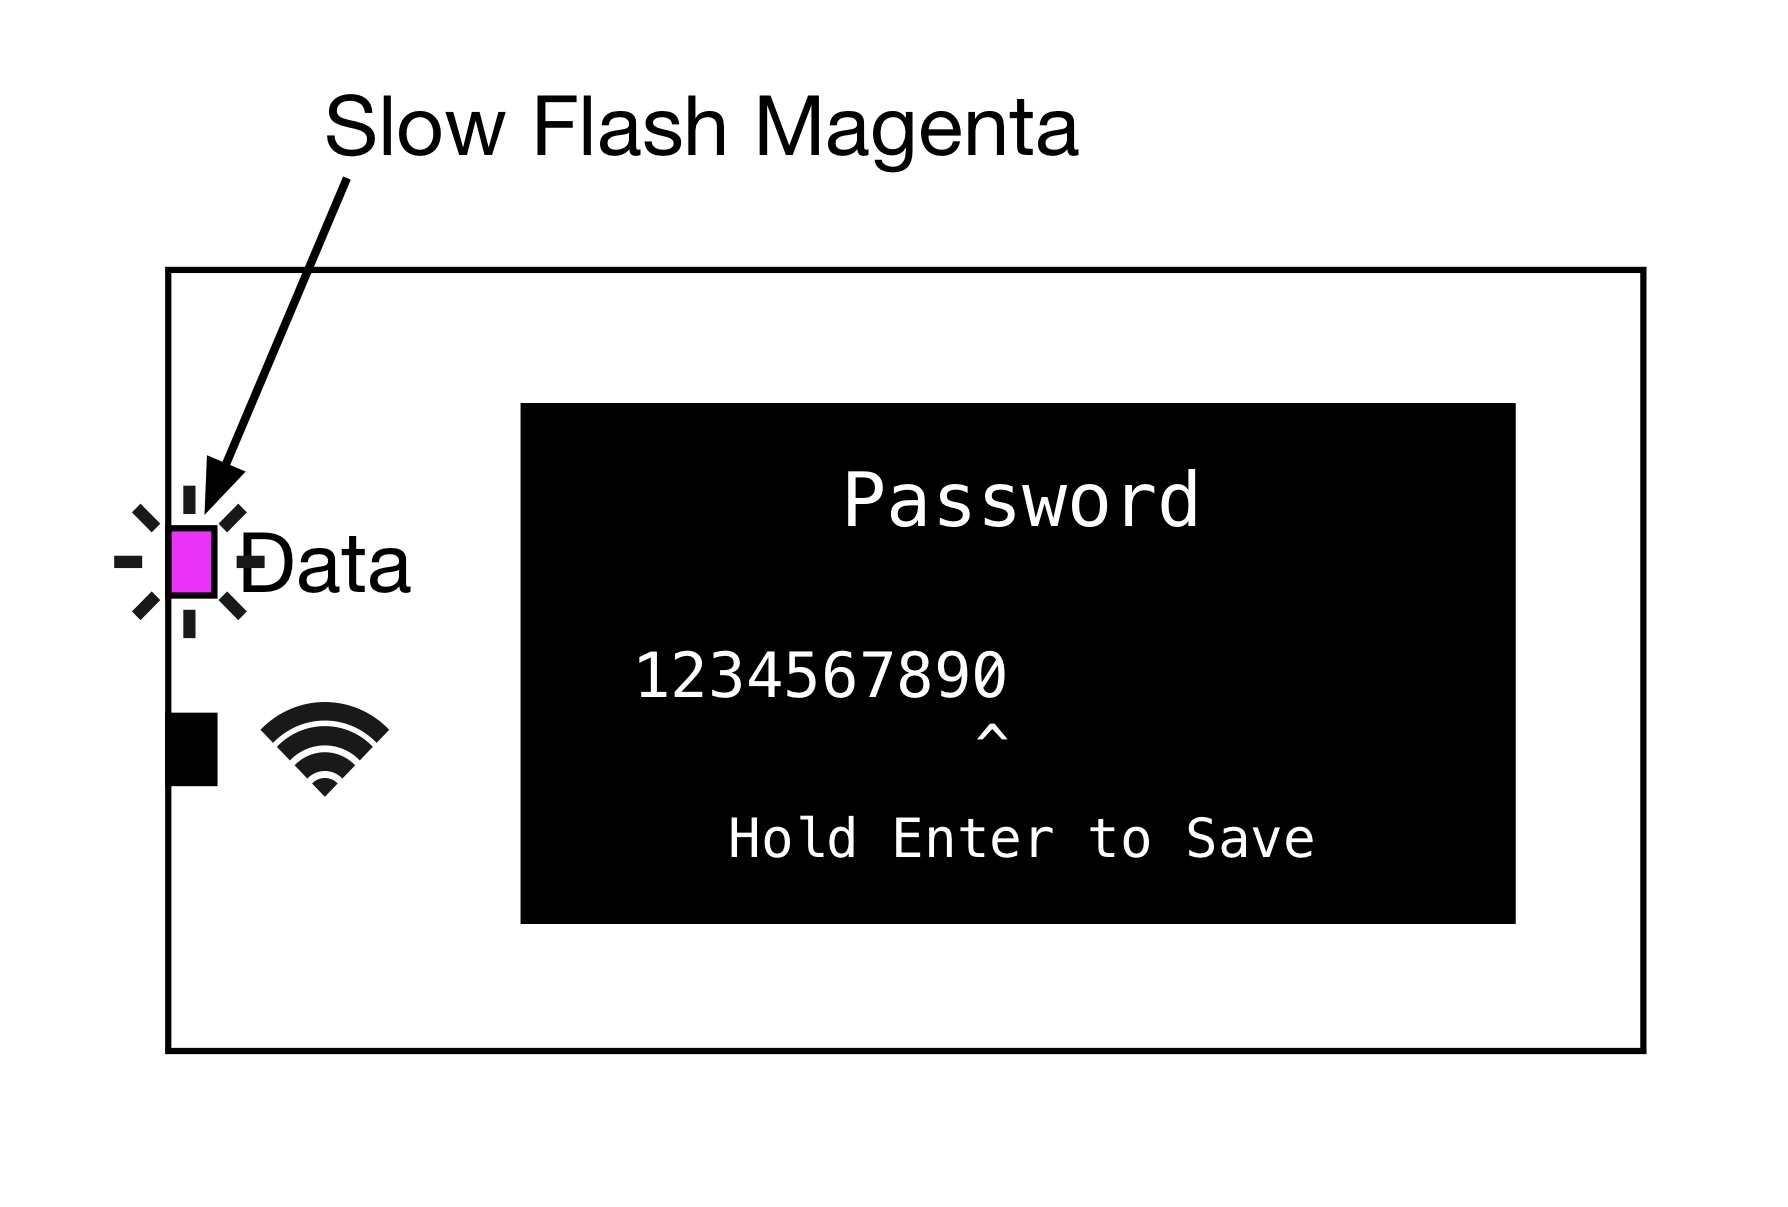 |
Auto-Fill Password Trick
Auto-Fill Password Trick (Firmware 0.9 and later)
For Example: QS: ABCD1234 (no lower case letters)
Tip
When you use the same SSID naming convention and Password on your own Network as a Quasar Science SSID, any client RR-R2 fixture will Auto-Fill the password of 1234567890 for you. Saving a lot of entry time when setting up multiple clients. Be sure it's a unique combination that does not duplicate an existing RR-R2 SSID or you may have network connection conflicts.
Once connected and ArtNet is flowing, you will see an updated WiFi Status screen that should look like the following:
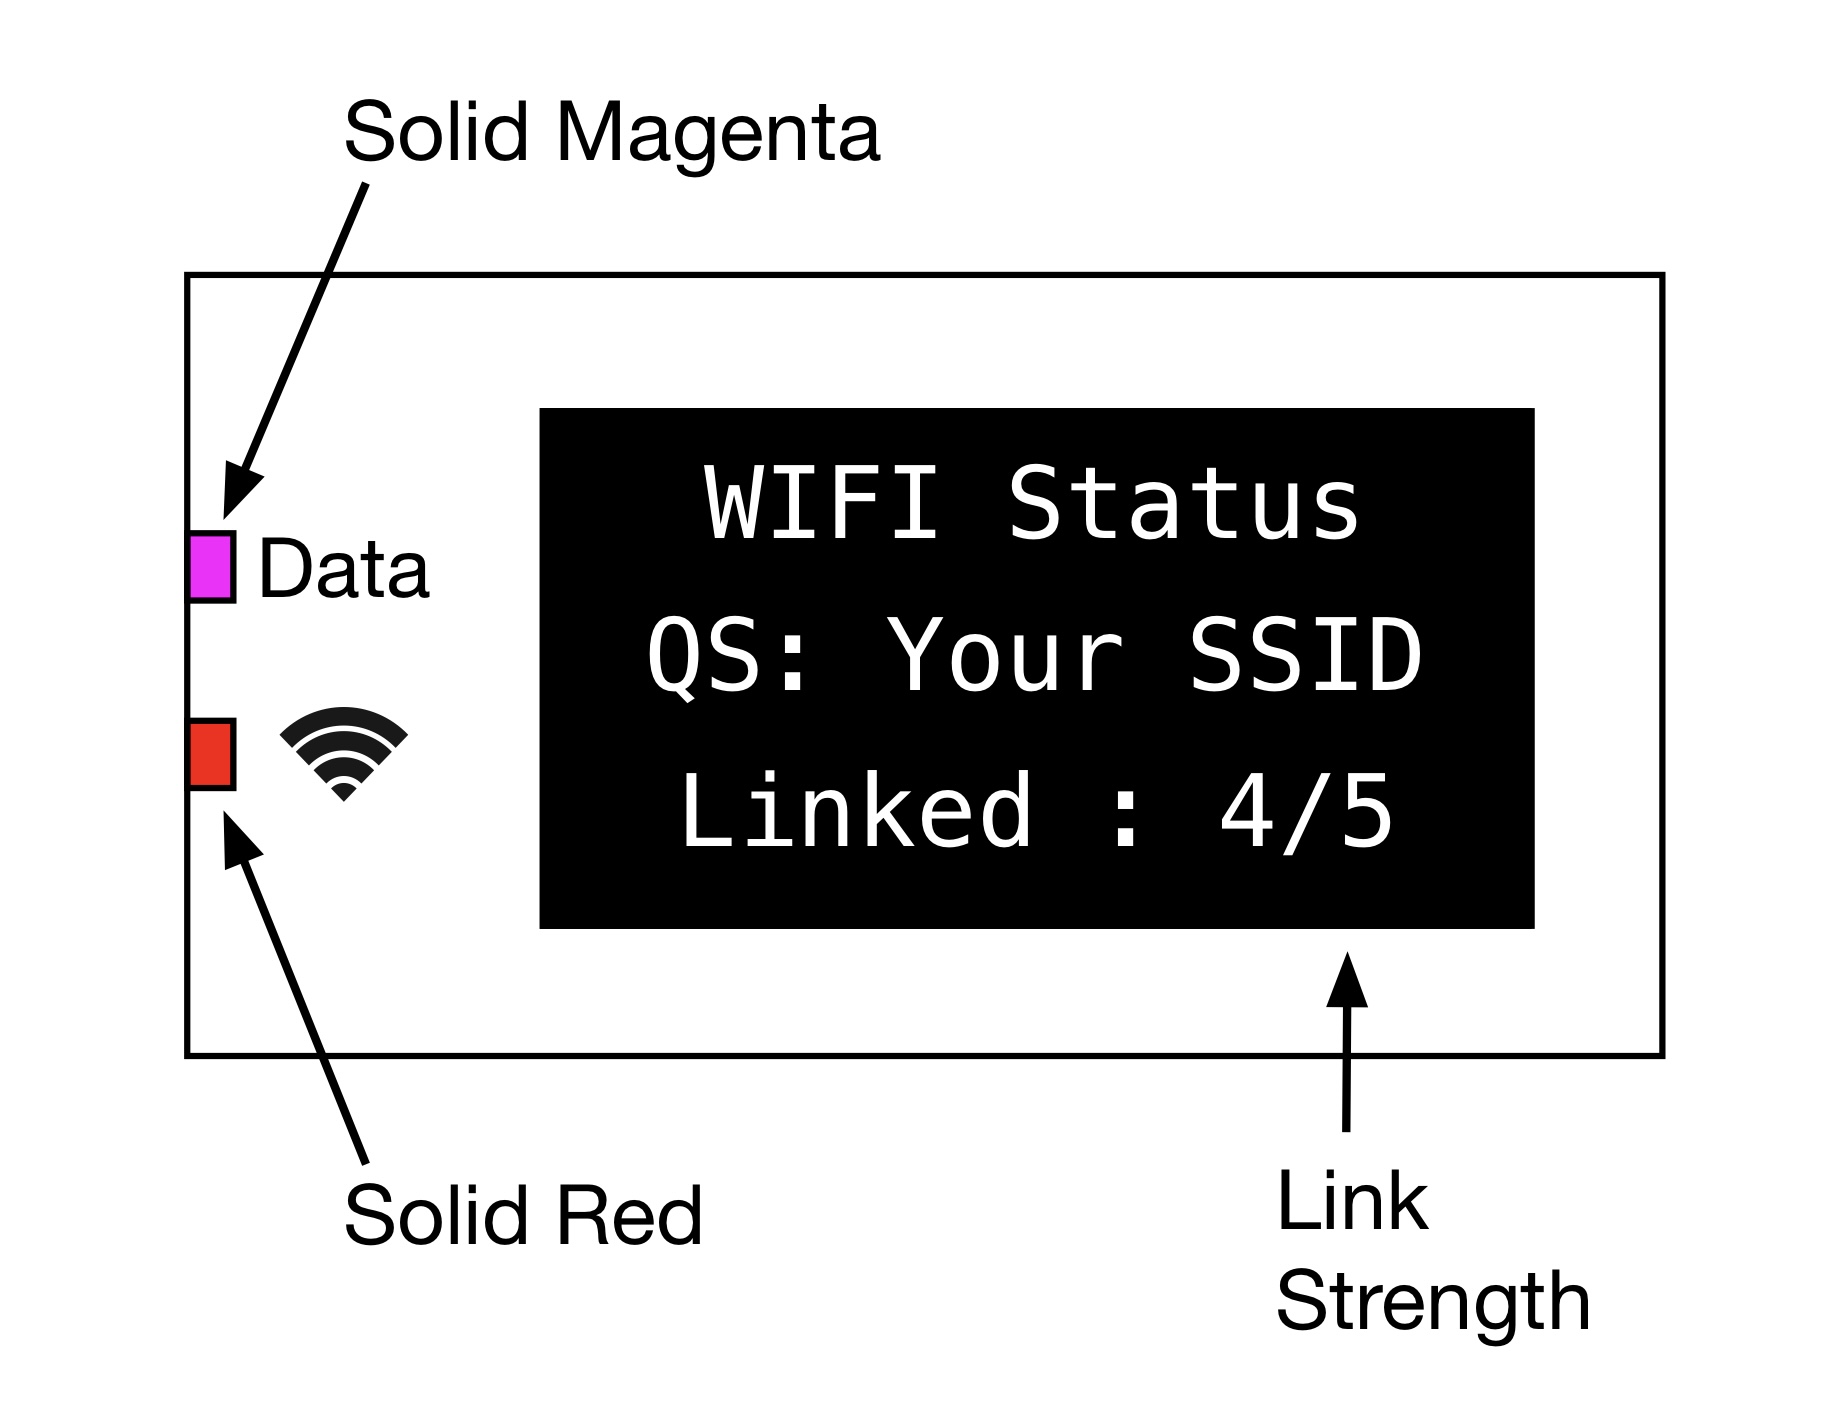 |
Tip
If you still have a Slow Pulse Data LED remember to navigate to [Ethernet Settings] → [Input Universe] and set the desired Art-Net universe that is in use.
Once everything is connected and running the Main Display adopts the standard WiFi Screen
 |
To learn about the alternative WiFi AP → DMX Routing please see >WiFi AP to DMX Routing<
Lost WiFi Connection
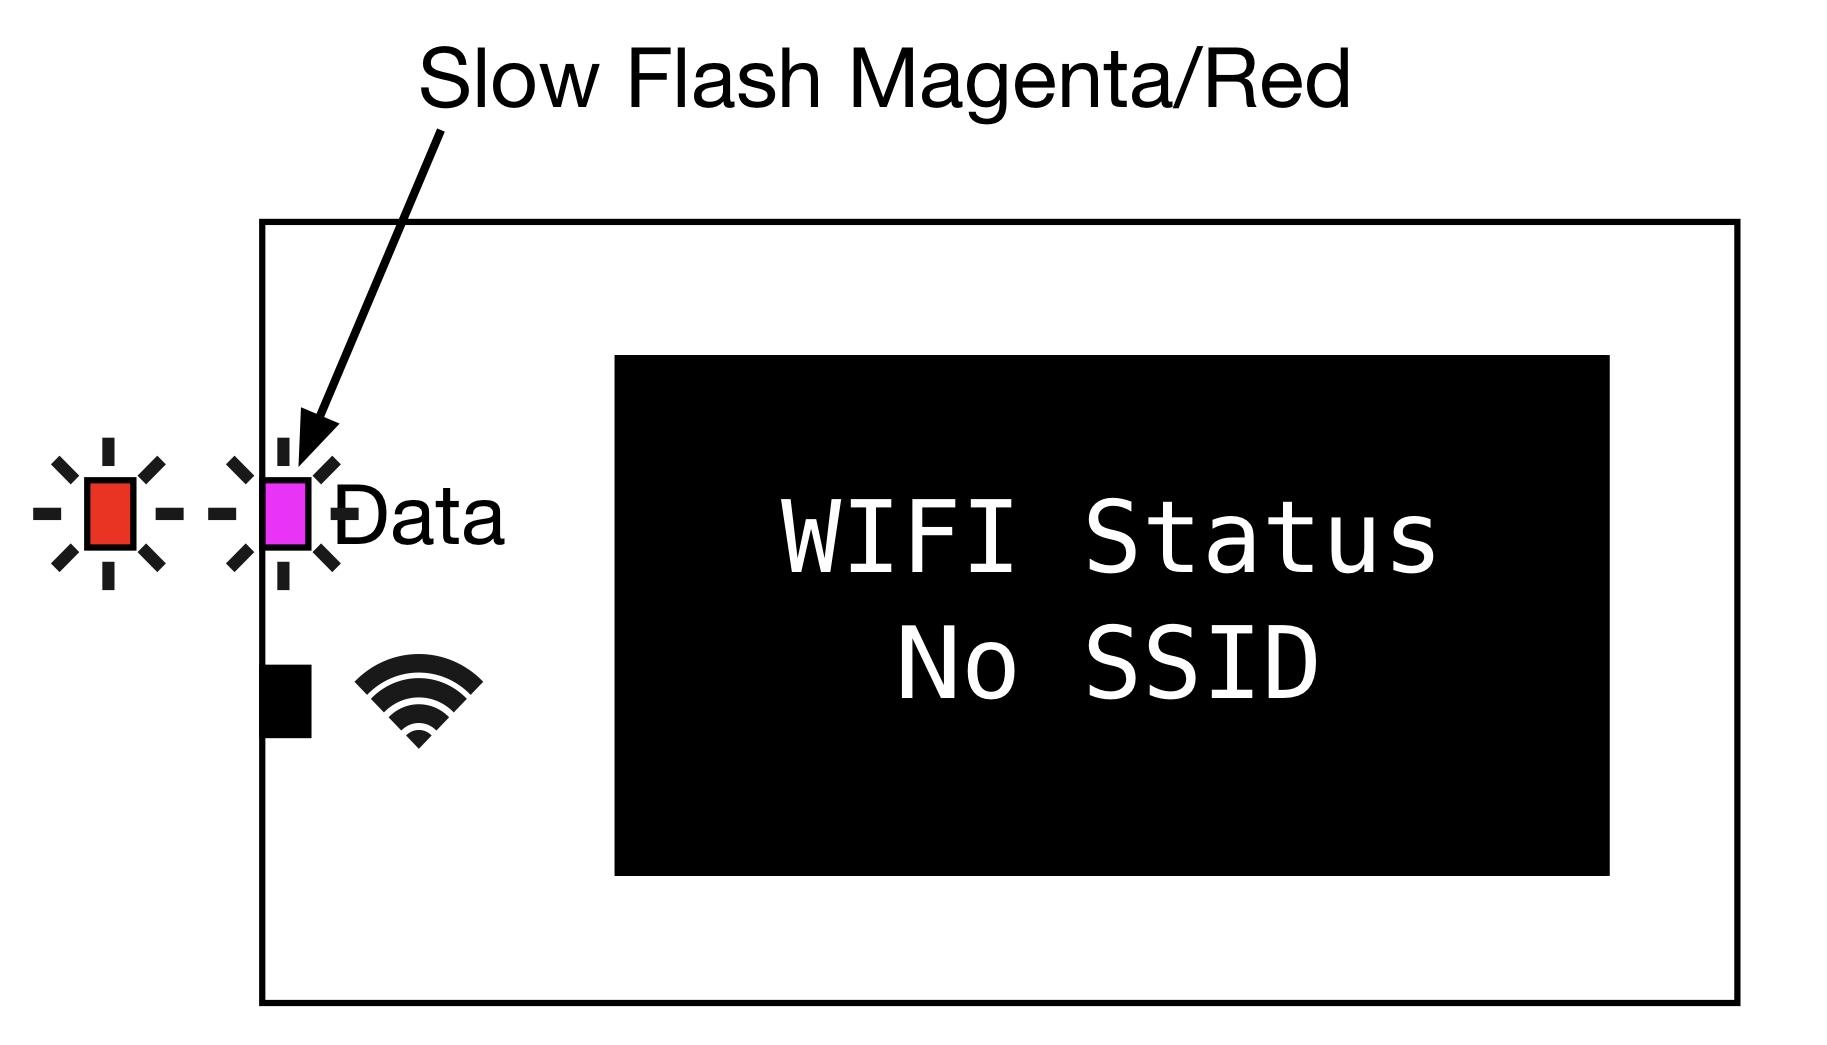
If you lose an existing connection (i.e. the Router or AP is powered off) the DATA LED will slow pulse between Red and Magenta.
 |
When the connection is re-established the fixture should automatically reconnect.